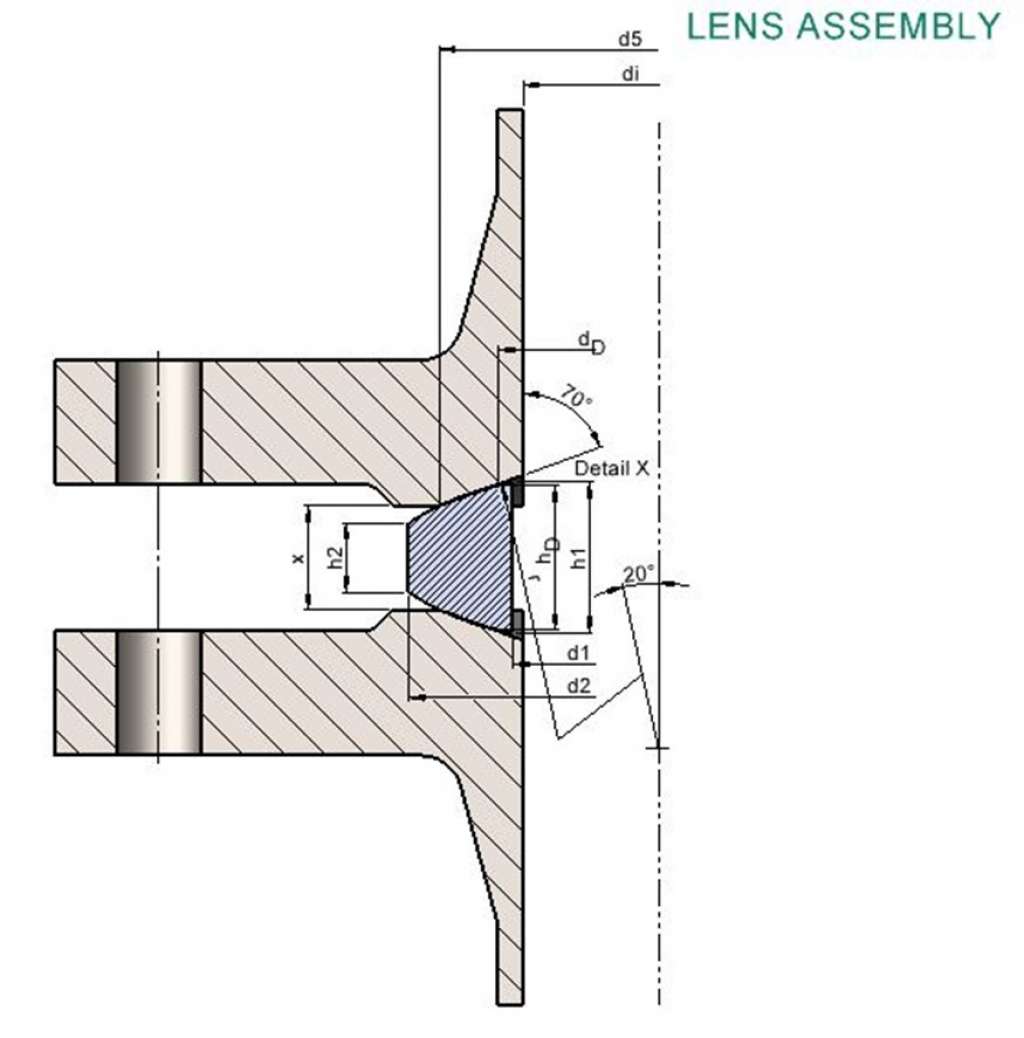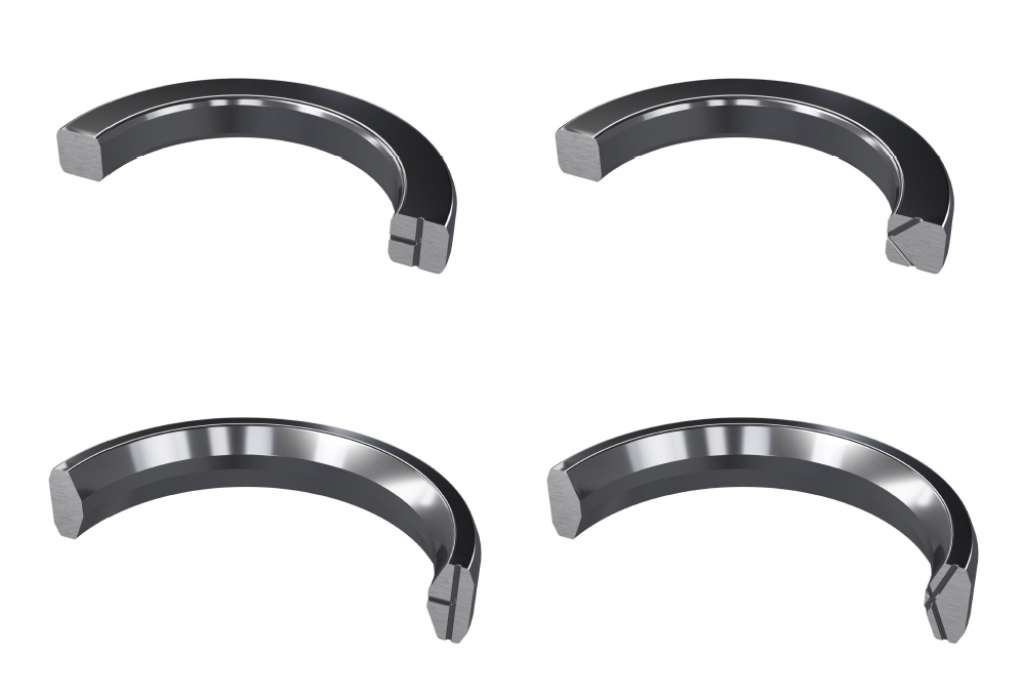
Ring Type Joint - RT J

The Ring Type Joint (RTJ) gaskets were originally developed for high-pressure and high-temperature applications typical of the petroleum industry. While they are primarily used in the Oil & Gas sector, they are also widely employed in valves, pipeline flanges, and pressure equipment across various industrial applications. Their robust design makes them suitable for sealing solutions across the entire spectrum of industrial services, regardless of pressure and temperature conditions.

RTJ gaskets can be manufactured from a wide range of metallic materials, each characterized by a maximum hardness value specified in Brinell (HB) and Rockwell (HRC) scales. For materials such as Soft Iron, Low Carbon Steel, F5, F410, and austenitic stainless steels, the maximum hardness values are defined by ASME B16.20 and API 6A standards. For alloy materials, the hardness limits listed in the reference table represent the maximum hardness values recommended by the Carrara technical department. Note that according to API 6A and API 17D specifications, Ring Type Joint (RTJ) gaskets made of Soft Iron and Low Carbon Steel must be protected with electroplated zinc up to a maximum thickness of 8μm. In fact, Soft Iron and Low Carbon Steel are materials susceptible to corrosion, so zinc coating preserves the integrity of the gasket during storage and helps extend its service life.

Regarding the Hardness of Ring Type Joint - RTJ

Typically, the gasket material must have a hardness 20 to 30 HB lower than that of the flange groove to prevent damage and ensure adequate deformation of the gasket for an effective seal. The hardness of each material is partially specified in ASME B16.20 and API standards, but Alloys and Superalloys are not included in these lists.

In some cases, it may be necessary to reduce the surface hardness of RTJ gaskets, and in such instances, it is essential to contact Carrara to confirm the technical feasibility of the requested reduction.

Why Reduce the Surface Hardness of Ring Joints (RTJ)?

The primary reason for reducing the surface hardness of RTJs is to improve corrosion resistance. Specifically, the goal is to dissolve carbides along the grain boundaries, which form during the manufacturing process, thus fully restoring the material’s corrosion resistance. This is achieved through a high-temperature solution heat treatment.

Below, we describe the correlation between hardness reduction and Sulfide Stress Cracking (SSC). The need to reduce surface hardness is indirectly linked to lowering the risk of Sulfide Stress Cracking (SSC) and other forms of environmentally assisted cracking in corrosive conditions.

Several industry standards, particularly NACE MR0175/ISO 15156, regulate the control of material hardness to enhance corrosion resistance, especially in sour service environments typical of the Oil & Gas industry.

For a deeper understanding of heat treatment processes, it is recommended to refer to the ASM Handbook, published by ASM International (American Society for Metals). Specifically, Volume 4 of the Heat Treating Handbook provides detailed information on the effects of heat treatment on superalloys such as Inconel 625, explaining how such treatments can reduce hardness while simultaneously influencing other mechanical properties.

What Are the Effects of Solution Heat Treatment on Mechanical Properties?

Once the main goal—achieving an RJ with high corrosion resistance and SSC insensitivity—is clear, it is important to highlight that solution heat treatment also affects other material properties. Below is a summary of the main changes:

In conclusion, reducing surface hardness through solution heat treatment is a crucial step to ensure that Ring Type Joint (RTJ) gaskets maintain a high level of corrosion resistance, while also balancing mechanical properties for demanding operating environments.

The Ring Type Joint (RTJ) gaskets are metallic gaskets. The materials used for their manufacturing, including bars and forged rings, are supplied with a 3.1 certificate, which qualifies their chemical composition, heat treatments, and mechanical properties in accordance with ASTM or other reference standards. In cases where additional heat treatments are applied, such as to reduce surface hardness, the solution heat treatment report may also be included in the set of documentation.

The non-destructive tests (NDT) that can be performed on finished RTJ gaskets include:

The dimensional and visual inspection (VD) is a non-destructive testing process used to verify the compliance of a component with design specifications, technical drawings, and reference standards. This inspection consists of two main aspects:

  1. Surface analysis to identify visible defects.
  2. Dimensional measurement to ensure the part remains within the required tolerances.

The hardness test on Ring Type Joint (RTJ) gaskets is a critical quality control measure to ensure that these sealing elements meet the mechanical resistance requirements and are compatible with mating surfaces.

The hardness of RTJ gaskets is partially regulated by API 6A and ASME B16.20, as not all metals are covered, and these standards define the testing procedures in detail. The Brinell hardness test (HB) is conducted using non-destructive methods, and the inspection is performed on at least one point of the RTJ, as prescribed by API 6A.

The penetrant test (PT) is a non-destructive inspection method used to detect surface discontinuities in metallic materials. The process begins with surface preparation, which must be thoroughly cleaned to remove any contaminants that could hinder the penetration of the liquid. Once prepared, the surface is coated with a penetrant liquid, usually red or fluorescent, which, due to its low surface tension, infiltrates any existing discontinuities.

After a dwell time, the excess penetrant is carefully removed without disturbing the liquid trapped inside the defects. Then, a developer is applied, which absorbs the penetrant and brings it to the surface, making the defects visible under white light or ultraviolet light, depending on the penetrant type. The visual inspection then identifies any imperfections, appearing as colored or fluorescent indications. Once the test is completed, the surface is cleaned of all residual materials.

Additionally, for the material specimens used in production, supplementary mechanical tests can be carried out, such as:

Also known as the Charpy Test, this method evaluates the fracture toughness of a material, or its ability to absorb energy before breaking under a sudden impact.

The test involves a metal sample, typically 55 mm in length, 10 mm in width, and 10 mm in thickness. The sample is struck at its midpoint, and the energy absorbed before fracture is calculated as the difference between the initial energy of the pendulum and the residual energy after impact.

This value, usually expressed in Joules (J) or foot-pounds (ft-lb), indicates the impact resistance of the material tested. The Charpy test is used to evaluate how materials behave under dynamic stress and to determine the Ductile-Brittle Transition Temperature (DBTT)—the temperature at which the material transitions from ductile to brittle behavior.

Some materials, such as steels, tend to become more brittle at lower temperatures. Therefore, the test is often conducted at various temperatures to identify the threshold at which the material loses its ability to absorb energy without breaking suddenly.

The Charpy test is widely used across industries where impact resistance and extreme conditions are critical. Additionally, it is a key quality control requirement, ensuring that materials meet the safety standards for their specific applications.

The intergranular corrosion test is a fundamental procedure to assess the corrosion resistance of a metallic material, particularly stainless steels and nickel alloys, against corrosion that develops along grain boundaries.

This phenomenon, known as intergranular corrosion, can occur when a material is exposed to high temperatures or improper heat treatments, leading to the precipitation of chromium carbides at grain boundaries. This condition can significantly reduce corrosion resistance, making the material vulnerable to degradation even in mild environments.

The test is performed by immersing samples in aggressive chemical solutions, designed to simulate operating conditions that may trigger intergranular corrosion. The choice of test method depends on the alloy composition and its intended environment.

Some of the most common test methods involve the use of sulfuric acid, nitric acid, or ferric solutions, depending on the material being analyzed.

There are several international standards governing the execution of intergranular corrosion tests, including:

By following these standardized procedures, manufacturers and engineers can ensure the reliability of metallic materials in corrosive service conditions, preventing potential failures and extending the service life of critical components.